Copper shines in jewelry making. It's cheap, easy to shape, and has that warm, unique glow. Yet joining pieces can trip up even skilled makers. Soldering copper jewelry fixes that. It creates strong links that last. Think of it as the glue for your designs, but with heat and skill. We'll break it down step by step. You'll learn safe ways to get pro results. No more weak spots in your copper rings or pendants.
Soldering beats wire wrapping for structure. Wrapping looks pretty but holds light loads. Soldering builds tough bonds for daily wear. Ready to dive in? Let's start with tools.
Section 1: Essential Tools and Setup for Copper Soldering Success
Selecting the Right Soldering Equipment
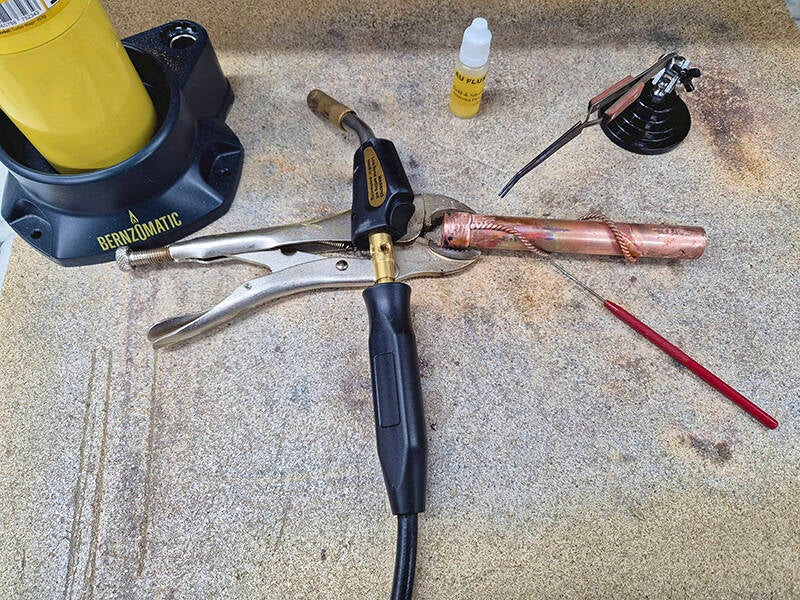
You need the basics to solder copper jewelry correctly. A good torch tops the list. Butane ones work for small jobs—they're safe and easy to control. Propane with oxygen packs more heat for thicker pieces. Pick a charcoal block as your work surface. It soaks up heat and won't crack.
Tweezers help too. Go for copper or titanium tips. They grip hot metal without melting. For flux, grab brushes or syringes. They let you apply it just where needed. Start small. A basic butane torch lets you practice without big risks. As you get better, upgrade to hotter setups. This builds confidence in soldering copper jewelry.
Flux tools keep things clean. A fine brush spreads it evenly. Syringes work for tight spots, like ring shanks. With these, your joints flow smoothly.
Understanding Solder Types for Copper Alloys
Solder melts at set temperatures. Hard solder needs the most heat. Medium comes next, then easy flows coolest. For copper, silver solders fit best. Look for ones with extra copper or silver-tin mixes. They match copper's color and strength.
Hard solder makes invisible seams. Easy solder shows more, but joins fast. In pro pieces, hard joints blend seamlessly. Soft ones add texture to the edges. Pick by your design. A hard solder on a copper bracelet base stays hidden. Easy solder-on bails pop for style.
Test flows on scrap first. This saves your main work. Silver solders with 70% silver work great on pure copper. They resist tarnish too.
Creating a Safe and Optimized Workspace
Safety comes first in copper jewelry soldering. Good air flow clears fumes. Use a fan or hood. Never skip it—flux smoke irritates lungs. Keep water nearby. A fire extinguisher rated for metals sits close to.
Clean your surface well. Dust or oils spark fires. Charcoal blocks hold heat steady. They prevent warping on thin copper sheets. Wear safety glasses with UV shields. A leather apron guards your clothes. Stick to cotton outfits—no synthetics that melt.
Set up in a clear spot. No clutter means no accidents. Check torches for leaks before each use. This setup lets you focus on the craft.
Section 2: Preparation: Cleaning and Fluxing for Optimal Flow
The Critical Role of Surface Preparation
Clean copper before you heat it. Dirt blocks solder flow. Use sandpaper, start with 220 grit. Rub off patina and oxides. They form fast on copper. Switch to finer grits for smooth finishes.
Abrasive wheels speed things up on curves. Always clean up after. Oxides stop solder from sticking. Touch pieces only with tweezers or gloves. Skin oils ruin your work. Fresh metal wets solder like water on glass.
Prep takes time, but it pays off. A clean join lasts for years.
Choosing and Applying the Correct Flux
Flux fights oxidation as you heat. It lowers solder's tension for easy flow. Borax-based liquids work on copper. Paste fluxes stick better for vertical joins. Pick one for your metal type.
For copper to copper, use easy-flow flux. Brass needs stronger stuff. Apply thin layers. Too much boils and spits. Brushes spread it evenly. Syringes hit spots like earring posts.
Suppliers like Rio Grande suggest fluxes for alloys. Test on scraps. The right flux makes soldering copper jewelry simple.
Assembly Techniques: Holding Pieces Securely
Hold parts tight before heat. Gaps over 0.003 inches won't fill. Use binding wire—dead-soft copper works. Wrap it snug. Pickle tongs grip without marks.
Tack solder first. Heat a tiny solder bit to spot-weld. It holds for the full join. This saves time on pendants or links. The sweat method fits flat pieces. Bead it for edges.
Secure holds mean clean lines. Practice on simple shapes.
Section 3: The Soldering Process: Heat Control and Application
Mastering Heat Application for Copper
Heat the whole piece evenly. Copper pulls heat quickly. Focus flame away from joints first. Bring it to a dull red glow. That's your cue—solder melts on touch.
Don't heat-solder directly. The metal does the work. Uneven heat warps thin wire. Use a soft flame tip. It spreads warmth like sunlight on sand.
Watch colors. Cherry red means too hot—back off. Even heat builds strong copper jewelry soldering bonds.
Techniques for Successful Solder Flow
Sweat soldering joins flats. Melt solder on one part. Press the second on top. Heat both till it runs. Great for copper sheet backs.
Bead soldering adds fillets. Touch solder to the edge. Let it pool as you move. It hides seams on rings. For a bail on pendant, heat the plate full. Solder flows right.
Practice these. A bail join takes even warmth across. Flux guides the path.
Troubleshooting Common Flow Issues
Solder balls up? Heat lacks or flux failed. Add more flux, reheat slowly. It runs away? Flame hits one side. Circle the piece evenly.
Cold joints bond weakly. Heat longer next time. Flux balls direct flow. Dab it along the seam.
Fix small errors quickly. Sand and retry. These tips save your copper jewelry soldering projects.
Section 4: Post-Soldering Care and Finishing Copper Jewellery
Quenching and Pickling to Remove Fire Scale and Flux Residue
Quench hot pieces in water right away. It stops heat damage. Then pickle in a sodium bisulfate mix. It eats oxides and flux bits. Fire scale turns copper black—pickle clears it.
Use tongs for hot metal. Never drop straight into a pickle. It splatters acid. Wear gloves. Rinse well after. Dry soft with a cloth.
This step shines your work. Clean copper jewelry soldering looks pro.
Repairing Imperfections and Refining Seams
Fix small flaws with files. Fine ones smooth bumps. Sanding sticks hit curves. If the joint holds, add flux and solder touch-ups.
Hide lines under texture. Hammer edges light. It blends seams. Check strength after. Weak spots need a full redo.
Refine slowly. Your piece gains polish.
Achieving Desired Patina and Surface Finish
Patina adds depth to copper. Liver of Sulfur darkens it fast. Soldering spots take on an even color. Apply after cleaning. Dip or brush on.
Mechanical finishes contrast. Wire brush for matte. Hammer for texture. Smooth solder lines pop against rough areas.
Mix methods. A patina copper ring with bead-soldered edges stuns. Test on scraps first.
Conclusion: Building a Foundation for Lasting Copper Creations
Soldering copper jewelry starts with prep. Clean surfaces and the right flux set you up. Heat control makes or breaks joints. Safety keeps you safe through it all.
Master these, and you craft durable pieces. Simple wires turn to art. Strong bonds mean wear-anywhere jewelry.
Grab your tools. Try a basic pendant today. Your skills will grow. Share your first soldered copper piece—what did you make?